Other places

Around the Block, August CKC

Friday, 1 January 2016

Round up and Review fpr 2015

Hello friends. Time to report in with completed layouts.

It is a bit embarrassing to say I have 8 counterfeit kits, at my desk.

So I guess my new year's resolution must be to stop running my fingers through all the lovely bits, and start building something with them.

I was in a real stale funk this last while. But I busted thought the brick wall of scrappers block when I found a course at Scrapbook Generation, on using 6x6 paper pads.

And then "BAM!" I was on fire!

 Don't Look Back. This is one of the page kits, I made up last spring. Off cuts of pp, a 12x12 overlay, a pocket card that made me laugh, and some photo copies of old family pictures. Under the overlay, I wrote in the names of the people in each picture.

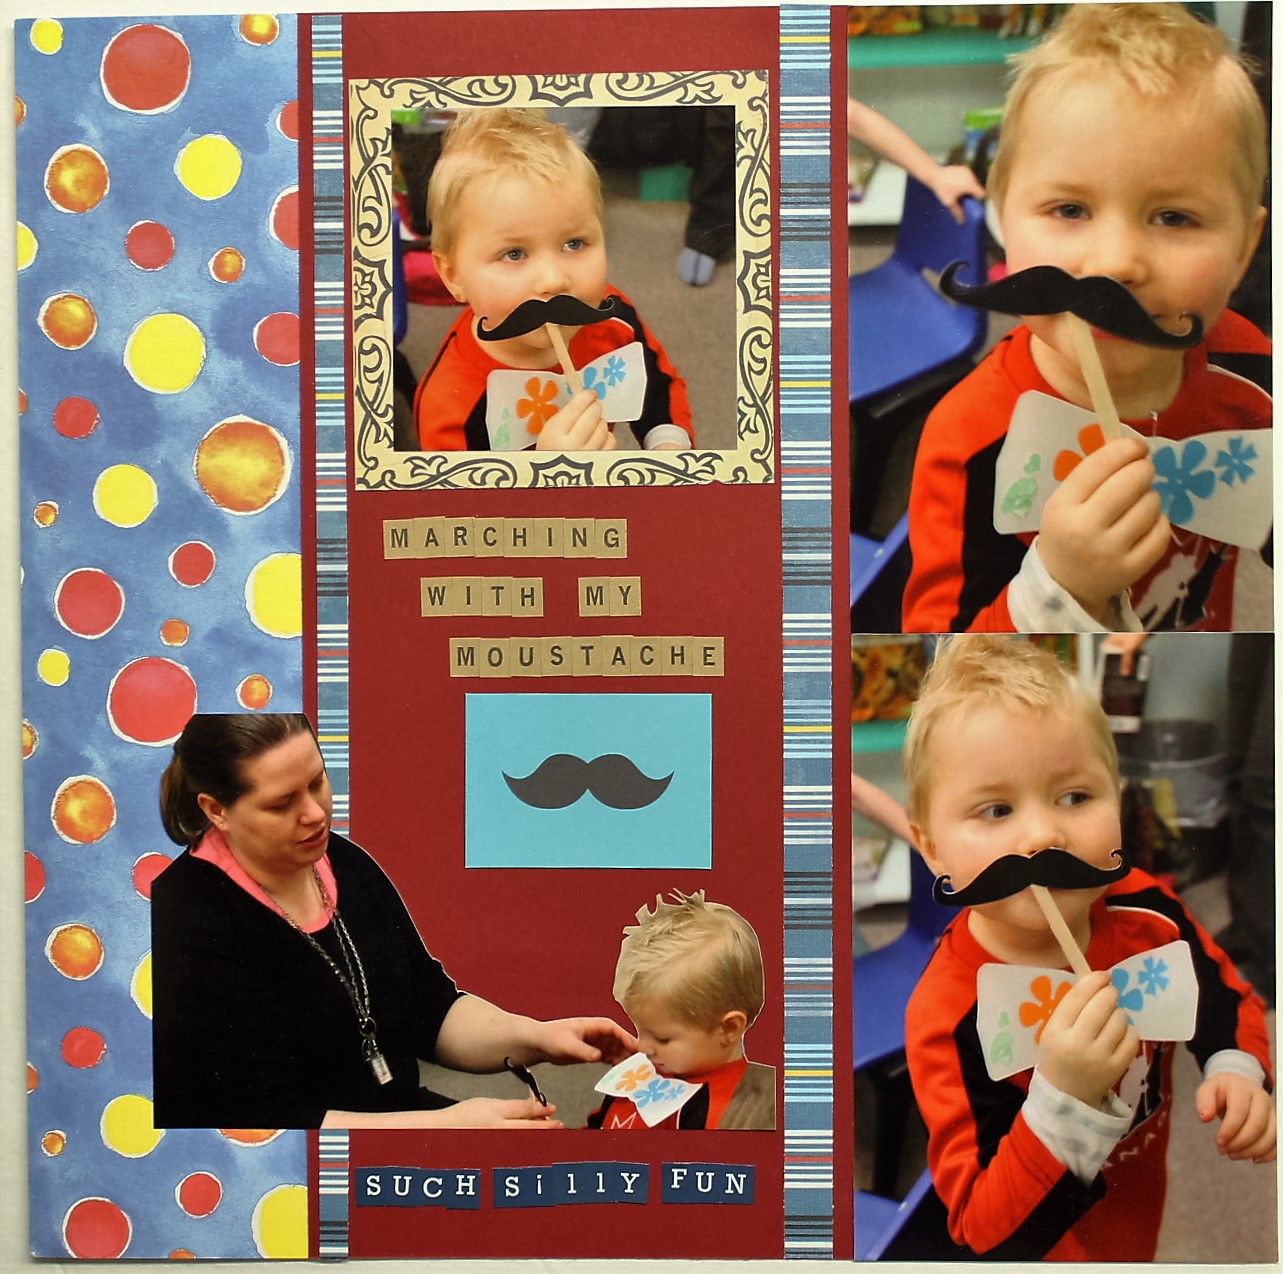
 Another one of those page kits. I think that is the last of the moustache pictures.

The next few are from my December kit, Good Tidings and they draw from the 6x6 class for their design.

 Sparkle and Shine.  In this case the paper was cut into 1"x3" pieces to make the patchwork, also a 6x6 piece for the title/journal area.

 A Visit With Santa. 2 - 6x6 squares with 6x4 and 4x4 forming the bottom shelf.


Annual Christmas card from my brother. I treated the photo card as a 6x6 and built around it, finishing with a washi border.

The Zombie Plants, used a 6x6 page for the journaling.

Hoar Frost, uses embellis from Good Tidings.

Back to the 6x6 class but now using June's kit Spring Forward for the next three.

I got quotes from Rebecca over Christmas. I just asked her questions and quickly wrote down her answers. Then chose the best for her pages.

 The next two are not from the 6x6 class but both originated from Scrapbook Generation sketches

I am really happy with Home Spa Day as I remembered to use my cuttle bug.

Which Came First is from May kit, Good ol' Days

So that is my November to December completed layouts.
Thanks for dropping by. Double thanks for comments.

December Album


The December Counterfeit Kit Challenge Blog offered a visit with each of the design team members over two day. The first day, they each showed us their December kit, and the second day they shared what they were doing with it. I was like having a coffee visit every day with a good friend.

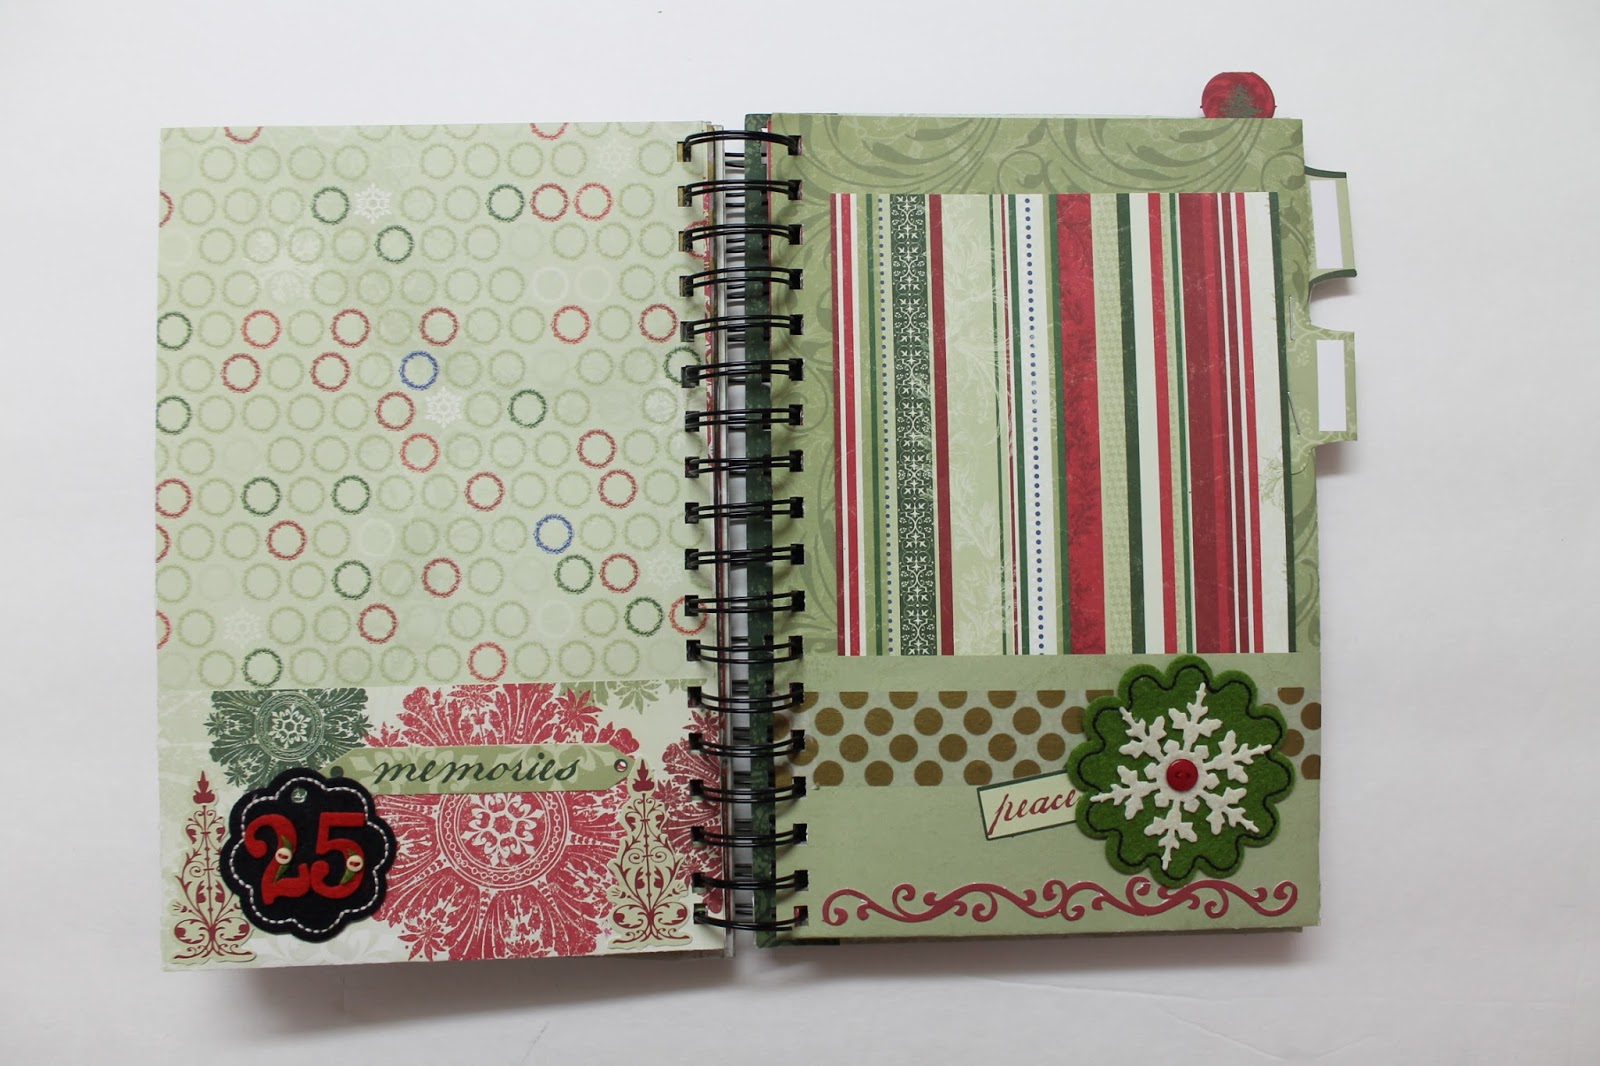
Many of them were making December Daily Albums or similar, mini albums. I was so enthralled that I actually made my own! Now, normally I am not a mini album person. I find them hard to store and keep protected from the dust. If I put them in boxes, I forget about them. But I decided to give it a go.

So here is how I made my album:

I started with  a 12x12 pad of double sided patterns from Little Yellow Bicycle. "The Sharon Ann Christmas Magic Collection"

Choose a sheet


Fold up 3" -4", horizontally

Flip it over and fold in half, vertically.

Open up and glue the bottom flap on both sides.


Flip over and glue on bottom and side

You end up with a pocket page. One large pocket in the middle and a shelf pocket on each side.

Then the covers
I used two pages that wouldn't work in the album as the orientation of that pattern/picture, didn't work well with the folding. The cardstock is from packaging, and is about 1/4 larger than the pages.


 This is the outside, front and back.

 Now, because the pages were folded to 6" wide. The covers are over 6" I did not want to use four sheets so the inside of the front and back were completed with a strip of off cut. It adds a nice border. At this point, you might want to run a ink pad over the edges. I forgot to do this but can finish it later.
Then I used my zutter bind-it-all to punch holes and add add the wire spring ring.
And with the die cuts from an 8x8 pad from the same Little Yellow Bicycle line, and my December kit, Good Tidings, I decorated with ribbon, washi, border strips, felt, stickers, pieces of wrapping paper, parts off of pretty envelopes, etc, etc.


 All ready in! A couple of business cards from places I won door prises from, during "Moonlight Madness." which is the Christmas launch in our town.


Now I need to choose photos to print and add in the ephemera I collected all month.

So as far a counterfeiting goes, it used up a lot of paper. So for reduction of old stash, I get an A+.

I like all the pockets, and have a place now for the receipts, seasonal packaging, place cards, and other little paper things that I want to hang on to.  I think I will crop my 4x6 pics to 4x4. And for journaling, I can make tags from the 8x8 paper as it is single sided.

Hope you enjoyed my picture tutorial.
Thanks for stopping by. Double thanks for comments.


Saturday, 19 December 2015

Good Tidings!

Merry Christmas! The King is born!

Last Monday, I had every intention of sitting down to scrap. But the mojo was missing. I flipped through photos and fondled flair, but I didn't seem to get anywhere. Until yesterday. Poking around on the internet for ideas, I found Scrapbook Generations course on using 6x6 paper pads on full size layouts. It turned out to be the missing key. Something clicked in my head and the tape runner started rolling.

Several layouts in, and I realized that the "kit" needed to be photographed before it was used up. Starting with my inspiration photo, you saw before:
I had been adding things as I went along. A totally different way to make a kit. Assemble the items you use, until it is enough to call it a kit.
Let's look at the paper first.
12x12s are all Dream Street, and a 6x6 pad from American Crafts

Add in Alphas
Chip board: Pink Paislee, and Cosmo Cricket.  Thickers from AC. Stickers by Dream Street. And the violet die cut from a long ago disassembled pad.

Next we need boarders and ribbons.
Paper ribbon, Creative Memories. Washi by Heidi Snapp and CTMH. Shimmer Trim by CTMH. Rick-rac, gingham ribbon, and thick red wool, from sewing supplies.

Now some sparkly elements. And die cuts
Close to my heart, Little Yellow Bicycle, Kaiser Scrapbooks for the glittery goodness. The wood veneer, is from a bag of craft supplies, bought at a thrift store. The angle wings are from the first die cut I purchased, last month, to use with my cuttle bug. Now I wonder where I hid it.  Oh and that 7 Gypsies patterned paper? I have a whole package of it.


Let's not forget to include some messy factors, confetti and dew drops (messy when you drop the container on the floor), and textured fabrics. The burlap and red craft fabric, my be used on a layout, or might be used as a mask. The white wrapper from an apple pear, could become a stamp or a mask. And a couple of off cuts of Coredinations Cardstock. I LOVE TEXTURES!

All together we have "Good Tidings!"
Good Tidings!

And it won't be long before I can show you some layouts. Happy Scrapping!


Thanks for stopping by. Double thanks for comments.


Monday, 14 December 2015

Pajama Day

Here in Northern Alberta, Canada , winter is settling in again.  With shorter days and mornings that greet you with freshly fallen flakes, my attention turns to that space in the corner that is filled with potential. My scrappy desk.

Today, I am especially motivated to sit here. You see, I have a bad cough, AND LYNGITIS! I tease Robin with messages over facebook, that I am giving him the silent treatment.

I got this way due to a renewed interest in politics. Considering the last couple of weeks, it could be said it is more like a passion or obsession. This is all over a truly bad Bill, passed by our Provincial Legislature. Well I know you didn't come here to read about our government, so I will spare you from a dissertation. I just wanted to say, that canvasing with a cold can lead to no voice at all! So....today has been declared "Pajama Day!"

Got the desk tidied up last night in anticipation of this important day.  Started the morning by reading Counterfeit Kit Blog and Scrapbook Generation's latest (and last) e-zine. 

This month at CKC, the Master Forgers are blogging about the kit they have made for December and sharing about an album or project they are working on. Today, Kelly shared her kit filled with October Afternoon and Freckled Fawn. Her colour scheme of Red and Turquoise is exactly what I have been thinking of doing. Although I don't have a December kit, yet, I have been gathering items of inspiration towards it.

Kelly's Kit on CKC blog

Beautiful Beginnings
The launch point of my Dec kit is the delightful '50's candy dish. I added in the thank you gifts I received from my Origami Owl consultant, and Heidi Swapp paper tape. Who knows where this might lead.....or not....

The long and the short of it is that I wanted to declare this PJ day, and then (hopefully) dig in and have some paper fun. As long as I can stay off Facebook and the many groups and threads discussing Alberta's current state of affairs.

If I succeed, I will be back with a report on production, soon. But not tomorrow, as I will have to leave early to exercise my civic rights, and protest at the steps of our Legislature. Darn politics. Interrupting my scrappy fun.

Thanks for stopping by. Double thanks for comments.


Sunday, 15 November 2015

Spring Forward, Fall Back

If you were reading carefully on my last entry, you know that I have two kits ready to reveal. The moniker of Daylight Savings Time "Spring Forward, Fall Back" became the inspiration for the names of these next two. Spring Forward is based on June's CKC challenge to choose a Basic Grey Collection.Torn between Barista

 and Tea Garden,

it became evident during the big desk clear-up in September that Tea Garden was the way to go. Much of the stash on the work space fit into this colour category and mood.

First the paper line up.
Two of these are shaped papers, and the forth one is going to need some doctoring with washi tape and layered stickers.

Since this month (June)we were challenged to copy a collection rather than a kit, beyond matching the papers I went rouge and fit together bits I wanted to use up, newer acquisitions and and items I wanted to work with   Beginning with a selection of alphas, stickers, thickers and one set is printed on parchment-like paper and has to be cut up.

Die cuts to delve into.


Words of Wisdom, on velum and parchment.
Stamps. One of these sets was used on the invitations on my first daughter's wedding. Working with them will be a trip down the memory aisle.

 Bits and bobs. Buttons and bobbly bits
 Before I got the kit photographed, these journal cards popped out of it.
 also including a breezy badge and a couple of ready made, journal cards.
 And playing with paints and inks and a plastic doily for a mask, this paper resulted. Also adding in the Reliable Sunflower Correspondence paper.

Finally, some layered stickers, from the dollar store. So delicate and feminine. Fell in love with the birds and the pansies.
No kit compilation photo today, but it is a beautiful kit.

The second kit today, is from CKC October challenge CSI case file 365-9.
This time we are challenged to build a kit using the  coluor scheme and the suggestions in the case file. The first thing I did was print out the watercolour picture as a 3x4 pocket card.
And a feather .png to fussy cut that Leslie S shared with us a while back.

My favorite on line place to shop for scrappy goodness in Ninabrook Designs. A recent purchase of a My Minds Eye kit, "He Said, She Said" became the base for "Fall Back"
The die-cut sticker sheets have the colour scheme dead on!
And the paper A sides:
And B sides:


makes coordination simple.  Just getting a laugh out of this. Usually, we build a kit based on a kit. This time, with a descriptive guideline, I chose a ready made kit. Well, they always say at CKC as long as you are using your stash, it is all good. So I guess the kit police won't be knocking on my door.


More MME for border strips. Basic Grey feathers, stamps, gold die cuts.
 Words on Washi
The "Evidence" from the file. Music, fences, leaves, (glimmer) mist, watercolour (pencils), metal, transportation (bicycle die cut), string (and raffia), numbers, heart (in metal house paper clip), and "scatter" something.
Now, alphas, inks, stamps, off cuts of paper, die cuts, brads and buttons.
With the intent to record some Halloween happenings, orange, red and black help set the mood.

And sorry, once again, no compilation photo. Sometimes you have to cut corners to try to catch up.

Spring Forward and Fall Back. Two seasonally oriented kits. One goal. Get some stories onto layouts. Ready, set, go!

Thanks for stopping by. Double thanks for comments.